Single Sign-on Authentication
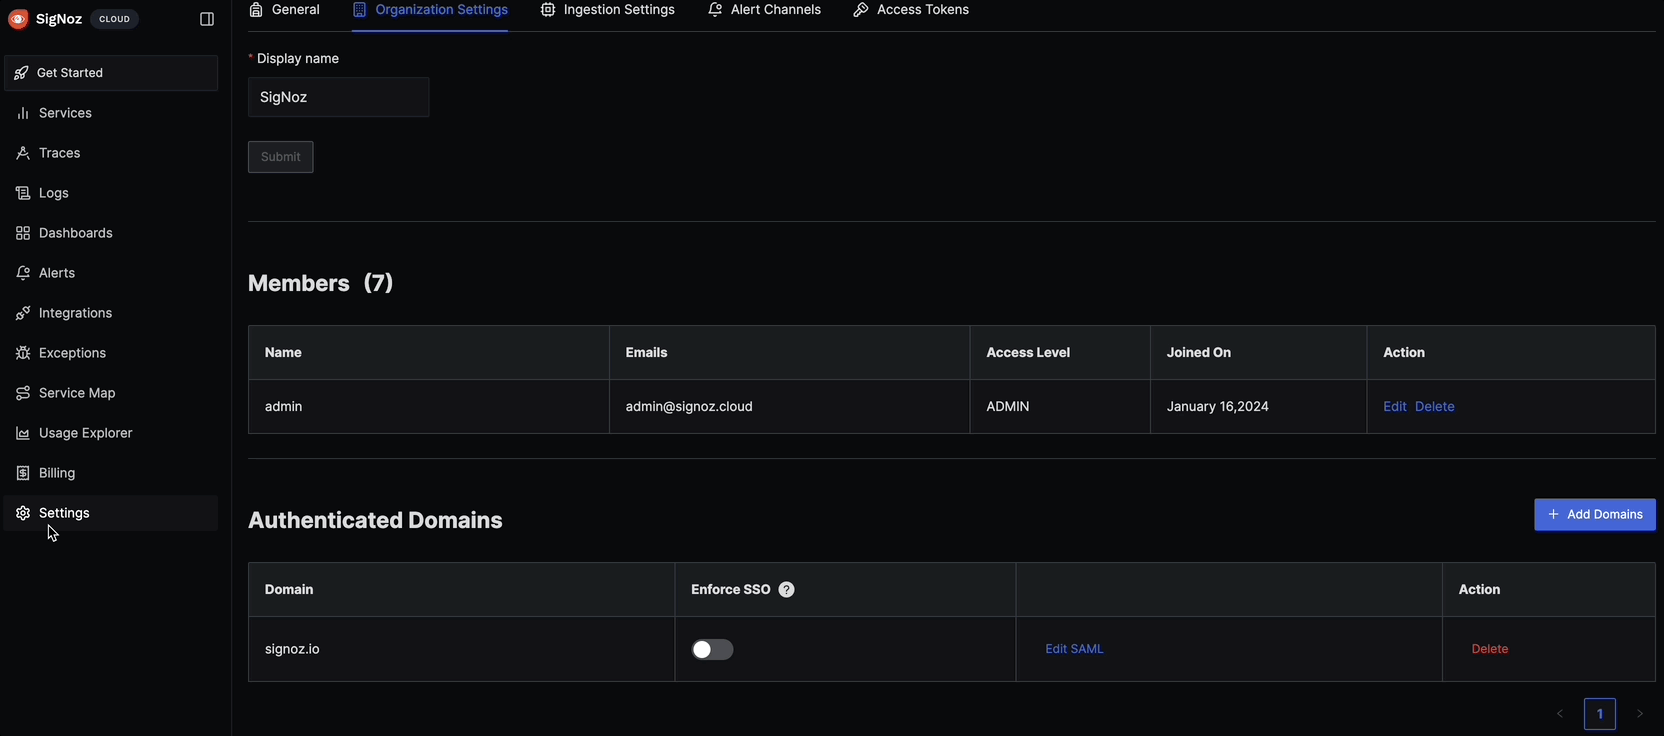
Single Sign-on Settings can be configured through Settings > Organization Settings > Authenticated Domains (section). You can use SSO settings to let your team log in through an Identity Providers (like Google Workspace, Okta, etc) instead of using passwords.
Google Workspace
Google Workspace single sign-on (SSO) provides password-free access to the invited members of your workspace to SigNoz.
Who can use this feature?
- Google Workspace Owners and Org Owners
- Available in
EnterpriseandTeamsplan.
Steps to configure Google OAuth 2.0
Google Workspace single sign-on (SSO) lets all members of your workspace sign in to SigNoz using their Google accounts. If they don’t have a account in SigNoz yet, they will have to be invited by Admin from Settings > Organization Settings > Invite Members.
Register your signoz instance with your Google org by visiting the cloud console. You must create a developers project if you have not already. Then follow the Create Credentials flow.
Set the Authorized Redirect URL(s) to
http(s)://${SIGNOZ_BASEURL}/api/v1/complete/googleDuring the setup you will obtain a client id and a client secret. Note it down as you will need them while setting up google auth in SigNoz.
Go to
Settings > Organization Settings > Authenticated Domains. ClickAdd a Domain. Enter your domain name (e.g.user@your-email-domain.com).After domain is created, click on
Configure SSO. ChooseGoogle Authenticationfrom the list.Now, enter the client id and secret you obtained in step 3. Click
Save Settings.Click on
Enforce SSO(next to your domain in Authenticated Domains) to enable google SSO login. When you enforce SSO, all users with user name format<username>@your-email-domain.comwill be forced to log in through Google.To test your setup, we recommend you to log in from a new browser window in Incognito mode.
If you face issue signining in, review the query service logs. To log into SigNoz for correcting SSO settings, admins may use this special URL to use password based login:
http(s)://${SIGNOZ_BASEURL}/login?password=Y
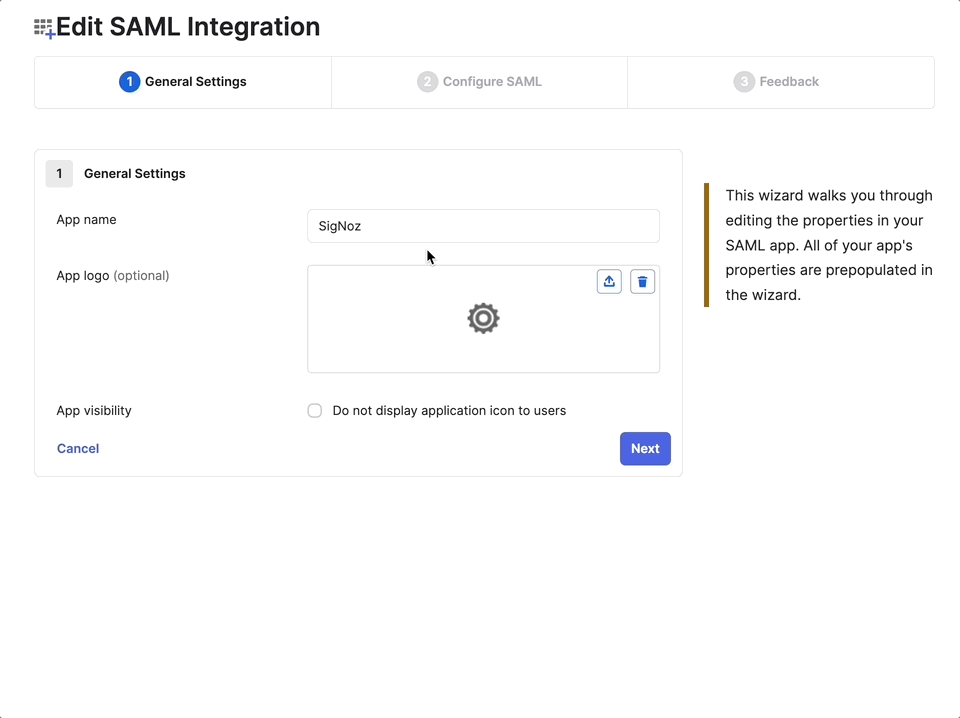
SAML based Authentication
Integrating SAML with SigNoz lets your users access SigNoz without re-authenticating. Configuring SAML is a two step process. First, you would have to configure your IdP (Identity Provider like Okta, Azure AD) with details of your SigNoz app. When the first step is complete, you would need to enter the information (like Entity ID, etc) available in your IdP into SigNoz settings (Settings >> Organization Settings >> Authentication Domains)
Who can use this feature?
- Available in
EnterpriseandTeamsplan.
SAML authentication with Microsoft Entra ID
Steps to be performed in Microsoft Entra ID (Or Azure Active Directory - AD)
Go to the
Microsoft Entra IDand click onEnterprise Applications.Click on
+ New Applicationin the top bar of the All Applications page.In the next page, click on
+Create your own application. Enter your application name as SigNoz, Select Integrate with other Applications (Non-Gallery) option and create.Once the application is created, go to
Single Sign-Onfrom left side bar and click onSAMLcard optionWhen the next page appears, you will see an card for
Basic SAML Configuration. Click on edit icon button in this cardFill out the following details and click
Save:- Entity Identifier (Entity ID): Set Base URL (host and port - if any) of your SigNoz app. (e.g.
test.in.signoz.cloud) - Reply URL(Assertion Consumer Service URL): Set the reply URL using this format -
http(s)://${SIGNOZ_BASEURL}/api/v1/complete/saml(e.g.https://test.in.signoz.cloud/api/v1/complete/saml) - Sign on URL: Set the sign on URL using this format -
http(s)://${SIGNOZ_BASEURL}/login(e.g.https://test.in.signoz.cloud/login)
- Entity Identifier (Entity ID): Set Base URL (host and port - if any) of your SigNoz app. (e.g.
Now we need to capture SSO information required to configure SAML in SigNoz. In the page, locate App Federation Metadata URL. Preferably, open this metadata page in a new tab. Once there, locate and copy these two field values from XML into a separate notepad:
- At the top of page, locate XML tag
EntityDescriptorand copy theentityIDvalue
<EntityDescriptor ID="_2d8d...a006" entityID="https://sts.windows.net/00d562...816c79/" xmlns="urn:oasis:names:tc:SAML:2.0:metadata">- Locate
X509Datatag and copy the entity content (value). This is certificate (Certificate Data) that SigNoz needs to validate response from IdP. - Locate
Locationat the bottom of the page and copy its value. This is the ACS URL that SigNoz needs to send SAML response to.
<SingleLogoutService Binding="urn:oasis:names:tc:SAML:2.0:bindings:HTTP-Redirect" Location="https://login.microsoftonline.com/323a6......12688fe83e3s30/saml2"/>- At the top of page, locate XML tag
For more details on the metadata page, click here
Steps to be performed in SigNoz
- Go to
Settings. Click onOrganization Settingstab and locateAuthenticated Domainsin the page - Click
Add Domain - Enter the domain that your users would login with. For example, if your user names or emails are in format such as john@example.com then you would have to enter example.com here.
- After domain is added, Click on
Configure SSOand chooseSAML Authenticationoption - Enter values of tags
entity ID,Certificate DataandLocation(ACS URL)that you acquired from the metadata page (step 7 above) - Save the settings and log in from an incognito tab to test the setup. If you face difficulties signing in, review the query service logs. Also if you are admin and are unable to login because of faulty setup, then you may login with password using this URL:
http(s)://${SIGNOZ_BASEURL}/login?password=Y
SAML Authentication with Okta
Steps to be performed in Okta
- Log in to Okta
- From the Admin page, go to Applications > Applications > Create App Integration
- Select SAML 2.0, and hit Next
- On the SAML Integration page, enter the following:
- Application Name:
SigNoz - Single Sign-on URL:
http(s)://${SIGNOZ_BASEURL}/api/v1/complete/saml - Audience URI (SP Entity ID):
http(s)://${SIGNOZ_BASEURL}
- Application Name:
- Save the application integration
- Now, we can visit the Metadata URL in Okta to get the following information:
- Entity ID: At the top of page, locate XML tag
EntityDescriptorand you will get theentityIDvalue
<md:EntityDescriptor xmlns:md="urn:oasis:names:tc:SAML:2.0:metadata" entityID="http://www.okta.com/exk...697">- X509Certificate Data: Locate
X509Certificatetag and copy the entity content (value). This is certificate (Certificate Data) that SigNoz needs to validate response from IdP. When copying this value, make sure that you copy the entire certificate and remove any whitespace
<md:KeyDescriptor use="signing">
    <ds:KeyInfo xmlns:ds="http://www.w3.org/2000/09/xmldsig#">
        <ds:X509Data>
            <ds:X509Certificate>...</ds:X509Certificate>
        </ds:X509Data>
    </ds:KeyInfo>
</md:KeyDescriptor>- Location (ACS URL): Locate
Locationat the bottom of the page and copy its value. This is the ACS URL that SigNoz needs to send SAML response to
<md:SingleSignOnService Binding="urn:oasis:names:tc:SAML:2.0:bindings:HTTP-POST" Location="https://redacted.okta.com/app/redacted_signoz_1/exk...697/sso/saml"/>
<md:SingleSignOnService Binding="urn:oasis:names:tc:SAML:2.0:bindings:HTTP-Redirect" Location="https://redacted.okta.com/app/redacted_signoz_1/exk...697/sso/saml"/> - Entity ID: At the top of page, locate XML tag
- At last, assign the People or Groups to SigNoz application
- From Admin page, go to Directories > People or Groups
- Select the specific people or groups
- Go to Applications > Assign applications
- Select SigNoz application > Assign > Hit Done
Steps to be performed in SigNoz
- Go to
Settings. Click onOrganization Settingstab and locateAuthenticated Domainsin the page - Click
Add Domain - Enter the domain that your users would login with. For example, if your user names or emails are in format such as john@example.com then you would have to enter example.com here.
- After domain is added, Click on
Configure SSOand chooseSAML Authenticationoption - Enter values of tags
entity ID,Certificate DataandLocation (ACS URL)that you acquired from the metadata page (step 6 above) - Save the settings and log in from an incognito tab to test the setup. If you face difficulties signing in, review the query service logs. Also if you are admin and are unable to login because of faulty setup, then you may login with password using this URL:
http(s)://${SIGNOZ_BASEURL}/login?password=Y